
How FiberMeFast is Building Out Your Neighborhood with our Fiber-Optic Network

If you're seeing our trucks buzzing around your neighborhood (literally and figuratively) and/or you've gotten a FiberMeFast door hanger at your home, you might be wondering what's going on. We can tell you-FiberMeFast is bringing a fiber-optic network to your neighborhood! This one-time project to install state-of-the-art technology will bring you years of fast internet with seamless TV streaming capability.
Get more details about our build projects and when fiber service may be available in your area.Stages of our Fiber Network Construction
Keep reading for a more detailed explanation of our construction process.
So you know what to expect, here is a brief on what the construction process looks like from start to finish.
Step 1: We Design & Engineer
Before we do anything, we create a design for the network. That design includes where the infrastructure will need to be placed, where our underground facilities will go and how we can reach the most locations with minimal ground disturbance. Once that plan is complete, we bring it to the local municipality for approval.
Step 2: We get permission
The local municipality must give us permission to do the work. We work closely with them, sharing our construction plan, obtain permitting and getting approval to access the utility easement areas. Much of the main construction work will be done in easements.
An easement is a permanent right-of-way giving a person or party permission to use the land or property of another for a specific purpose (generally, utilities). In this case, FiberMeFast gets official permission to use these areas to build and maintain our fiber-optic network. Easements can include the area between the sidewalk and the street-and even up to 6-foot-wide strips on homeowners' property.
Step 3: We Prepare
Our crews begin by identifying underground facilities and marking those using colored flags and paint. These markings are important as they identify underground utilities which helps prevent unnecessary outages and accidents.
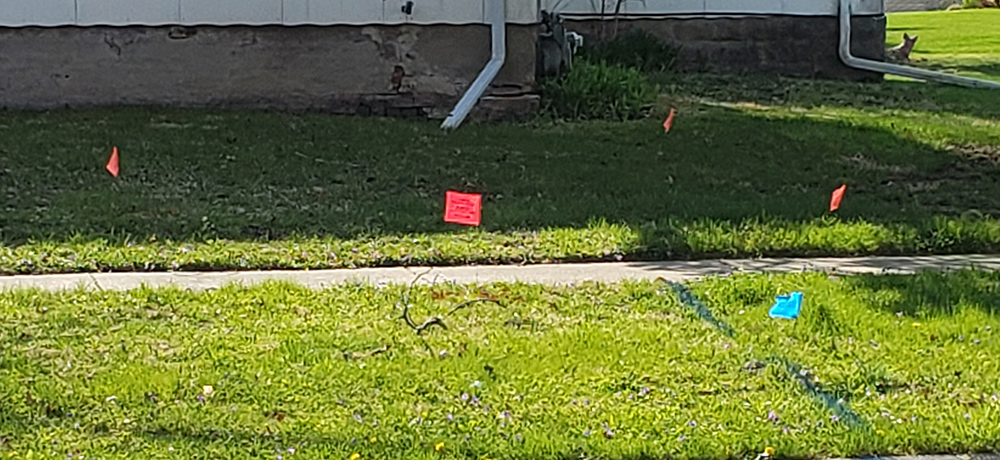
You may be tempted to remove colored utility flags from your yard, but keep in mind that removing these flags is a big no-no. In IL and IA, it is illegal to tamper with these markings. Doing so could result in fines. In addition, you will be held responsible for damages to the utility. If the flags get removed accidently, please do not re-plant the flags in the ground as you may not know where exactly they were located. Instead, call the 811 dig hotline, report what happened, and request for them to mark the utility lines again.
Step 4: We install conduit
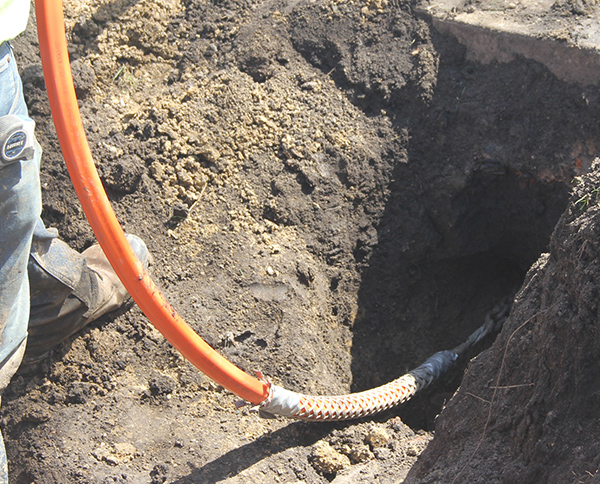
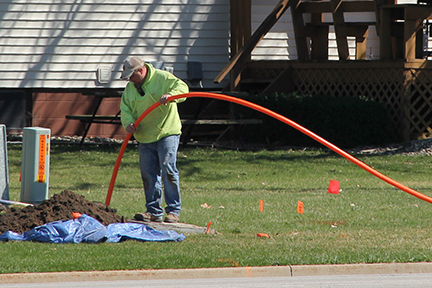
Once we have permission, our contractors install the plastic tubes-conduit-that will hold the fiber-optic cable. This is the bright orange tubing you'll see on giant spools.
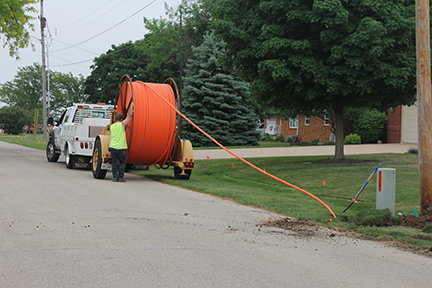
We put this conduit in the ground both for mainline construction as well as up to your home to protect the fiber cable from damage, but it also does something else important-it allows the conduit which houses the fiber to be located in the future.
It takes a multi-stage and multi-day process to install the conduit. Here's what we do:
1. First, we locate the existing utilities.
We have yards marked by utility locate professionals before we start working so we know where the existing utility lines (gas, water, power, telephone) should be. Again, please don't remove the flags or the markings! Our contractors generally remember to remove them when they’re done.
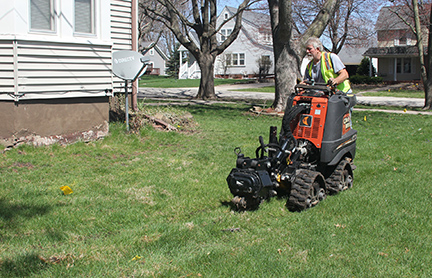
2. Next, we dig a few holes
We'll admit, this is often when homeowners get nervous, but here's how we do it to minimize impact to your yard: During mainline work, our contractors come in with what is called a 'boring machine'. This vehicle is a special drill that works like a giant earth worm (but one that can reach spots about 1,000 feet away!).
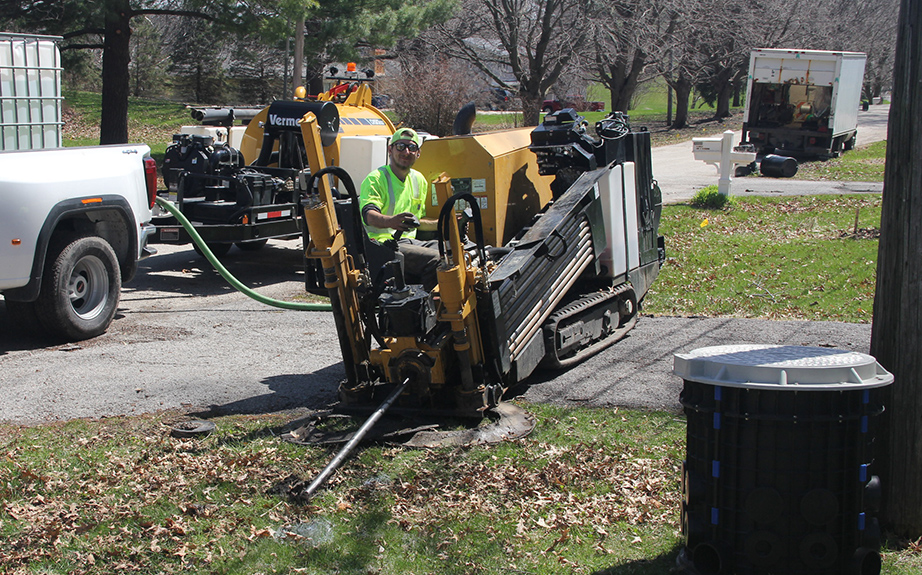
It pushes through the dirt-one section at a time-to the spot where we need to start inserting conduit. From above, when the drill makes it to where we need to insert conduit, this is what you see:
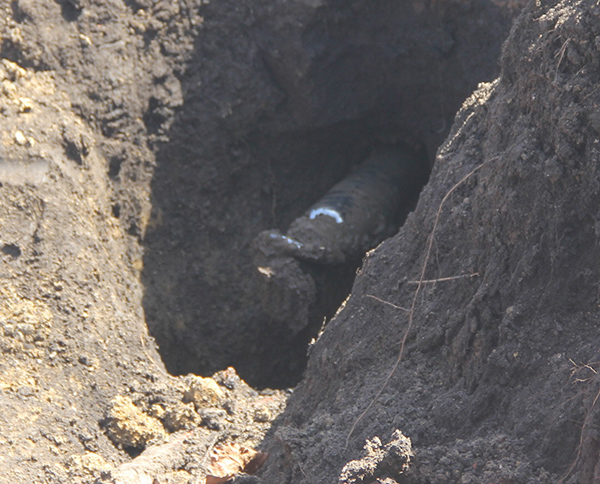
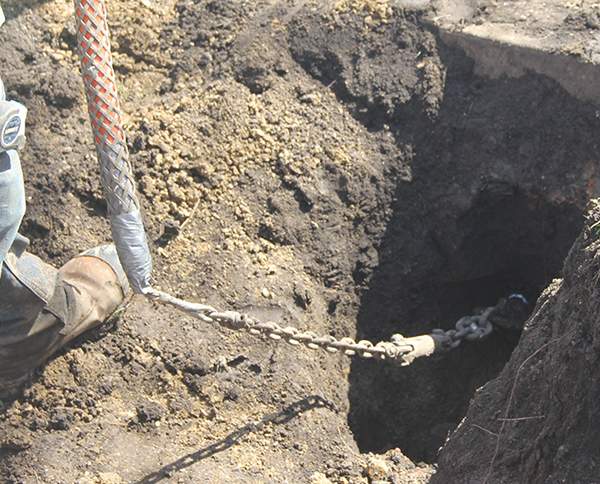
When they pull the drill back, it will also pull the conduit back through the hole, essentially 'threading' it through the ground.
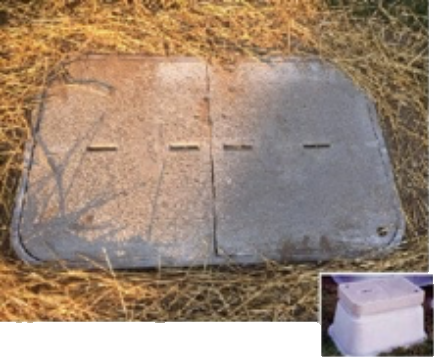
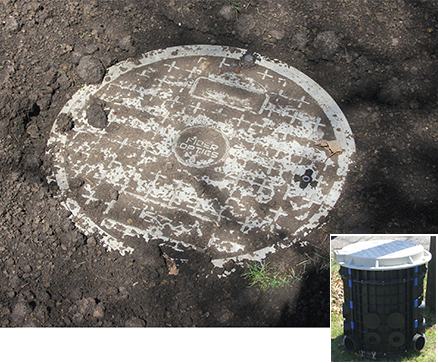
3. We install pedestals.
After the conduit is in, our contractors come back and connect the ends to those green boxes in your yard (called pedestals, or 'peds' for short). If they don't do that immediately, never fear-they cover the holes with plywood boards to prevent accidents. In some cases, the network plans call for inserting what looks like a flat panel in the ground. These are called 'hand holes' and they're underground vaults where the fiber cables come together and are spliced together. Hand holes are made from either a polymer concrete or fiberglass and are strong enough for lawn mowers to drive over them.
4. We close the holes.
We do our best to minimize impact and restore unearthed areas. Our crews will return and backfill those spots. Our efforts may include spreading some grass seed and putting down some straw to help restore the land to its original condition.
Step 5: We insert fiber-optic cable
Once the conduit is in the ground, we can run and connect the fiber-optic cable to our infrastructure. This means not only 'plugging in' the cable in the PED boxes, but also making changes and upgrades to the larger hub boxes.
To be clear, steps 1 through 5 of the construction efforts are necessary to build the backbone of the network; step 6 below begins the process of getting individual homes and businesses access to that network.
Step 6: We connect homes and businesses to the network
Once mainline fiber construction is completed), we start connecting individual homes and businesses to the network. We make the connections by doing what we call 'fiber drops'. A fiber drop means we run a fiber cable from a nearby network access point to your premises.
Here's how the process works:
1. Before we come into your yard you will receive a door hanger. This door hanger instructs you to contact us regarding any personal underground facilities, such as dog fence, driveway melt systems, etc.

Click image to view larger size
2. Assuming the ground isn't frozen, we come and zip the conduit into the ground-and we mean that almost literally. In most cases we use a piece of equipment that makes a small slice in the ground, gently tucks in the conduit, and closes it back up again.
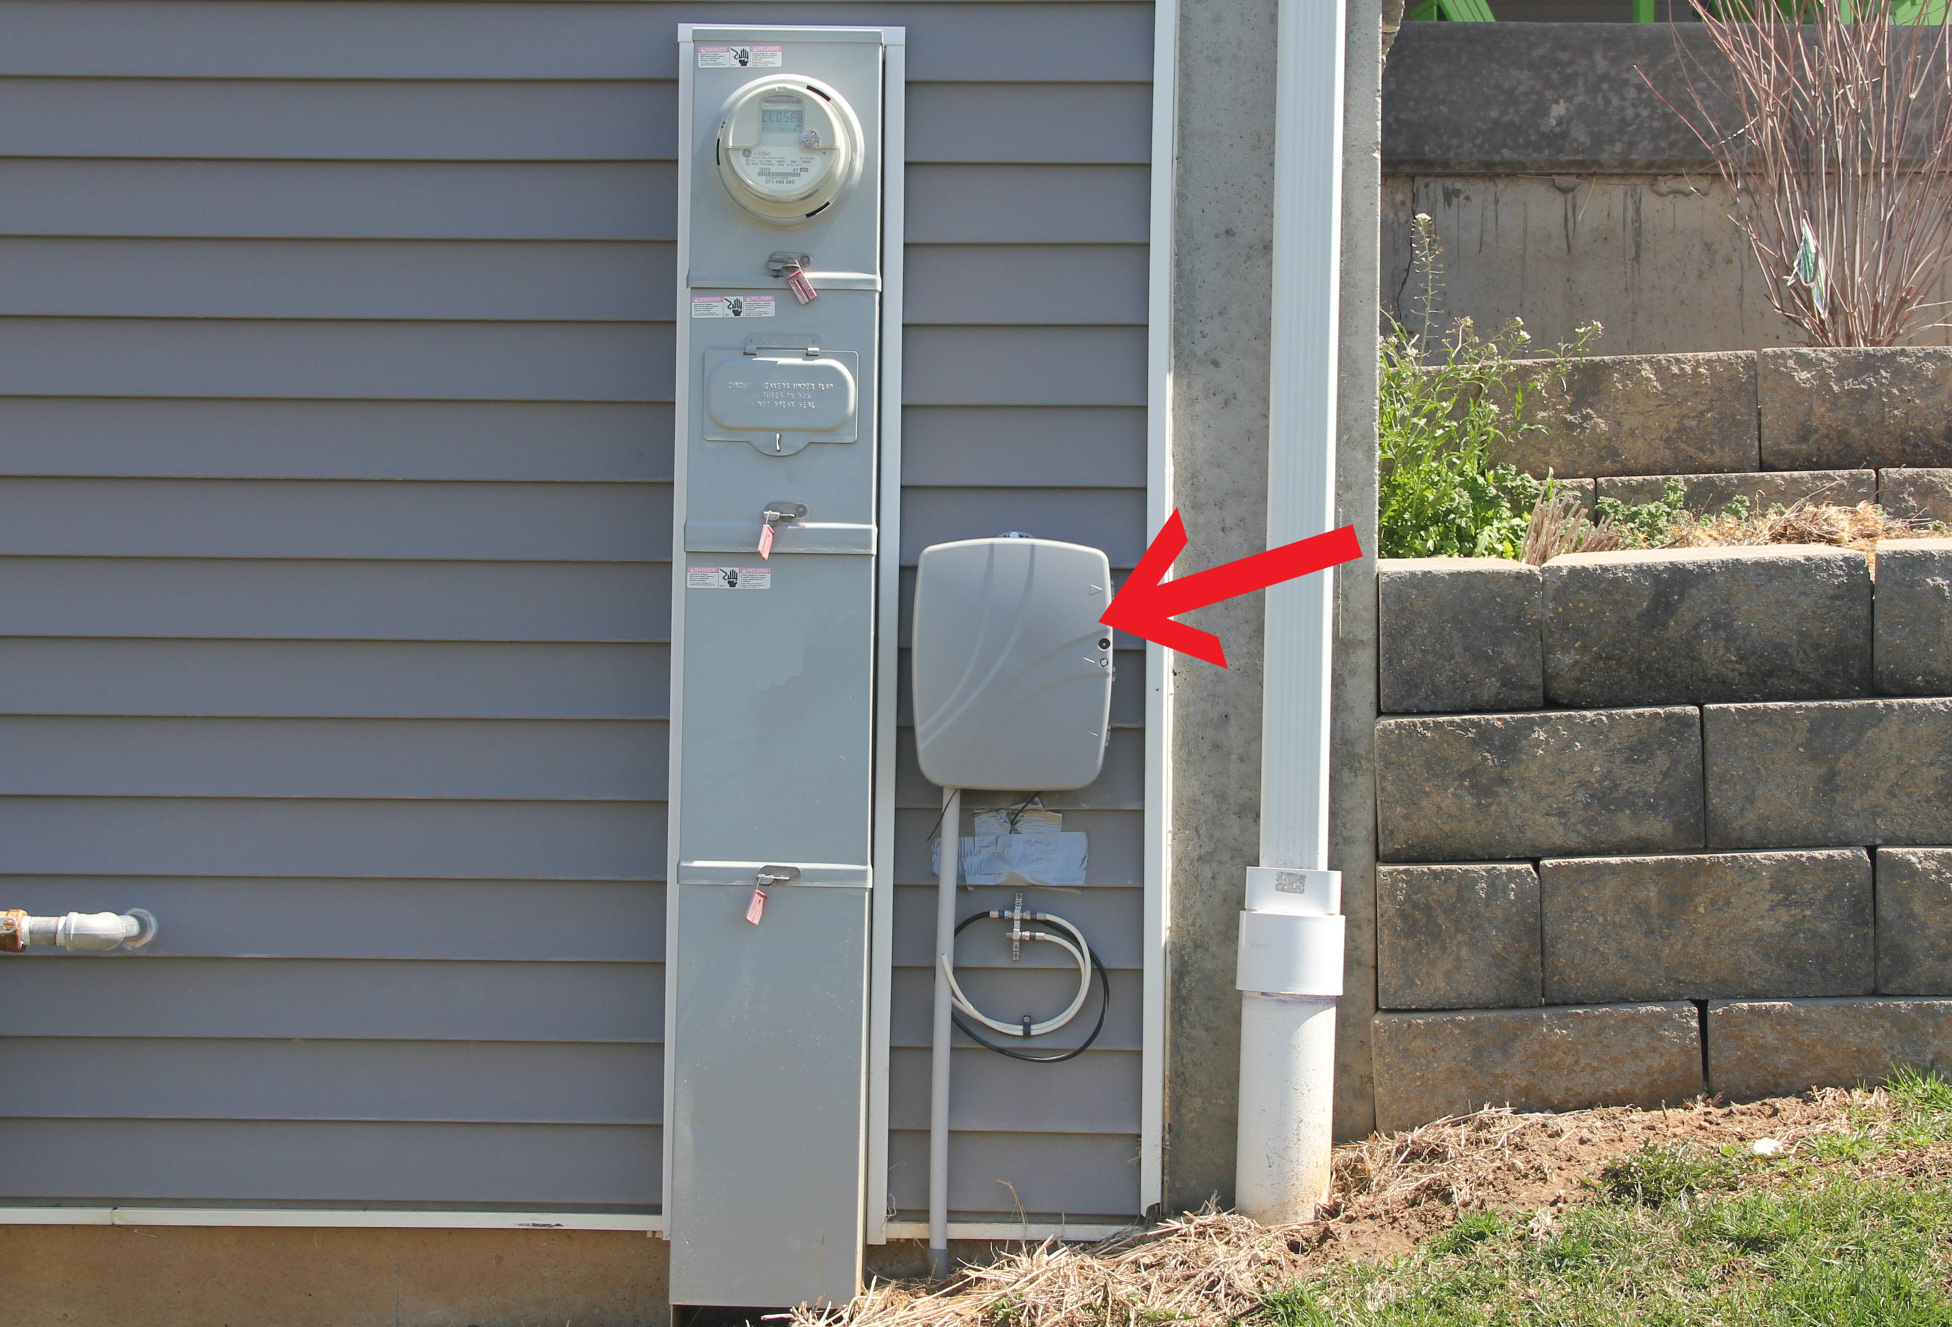
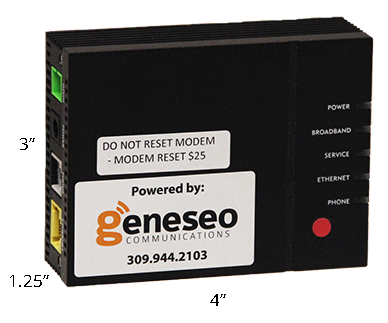
3. Know that because we're often racing Mother Nature and/or material delays, we may place the protective conduit and install a Network interface Device (NID) on the outside of your home to connect the fiber to your home, before services are live. In some cases, we may come back to pull the fiber drop though the conduit and connect services to the outside of your home or business.
Step 7: You get services installed
When the network is ready in your neighborhood, you'll be invited to arrange an installation time. When our tech arrives, he will finalize any needed outside work and install an Optical Network Terminal (ONT), and a wireless enabled internet modem inside your home to get you up and running.
Step 8: You enjoy the fastest Internet speeds around!
After installation sit back and enjoy the freedom of Fiber Fast Internet!